A Step-by-Step Guide to Rolling a Perfect Joint
Welcome to the wonderful world of joint rolling! Whether you’re a seasoned smoker looking to enhance your rolling skills or a beginner eager to craft your first joint, this step-by-step guide is here to help you achieve joint-rolling mastery. We’ll cover everything from selecting your materials to lighting up and enjoying a smooth, even burn.

Section 1: Gather Your Supplies
To embark on your joint-rolling journey, gather the following supplies:
- High-quality rolling papers
- Freshly ground cannabis
- A crutch or filter (optional but recommended for a smoother smoke)
Section 2: Preparing Your Cannabis
Start by grinding your cannabis to a medium consistency. This ensures an even burn and allows for optimal airflow through your joint. Invest in a quality grinder for the best results.
Section 3: Creating the Crutch
A crutch, also known as a filter or a tip, is a mouthpiece that not only adds structure to your joint but also prevents loose bits of cannabis from entering your mouth. The simplest way to make a crutch for your joint is to fold the edge of a small piece of card stock in opposing directions around four times before rolling the rest of the crutch around the folds. Keep this newly-crafted crutch handy, as you’ll be adding it to your joint in the next couple steps.
Section 4: Filling the Joint
1. Even Distribution:
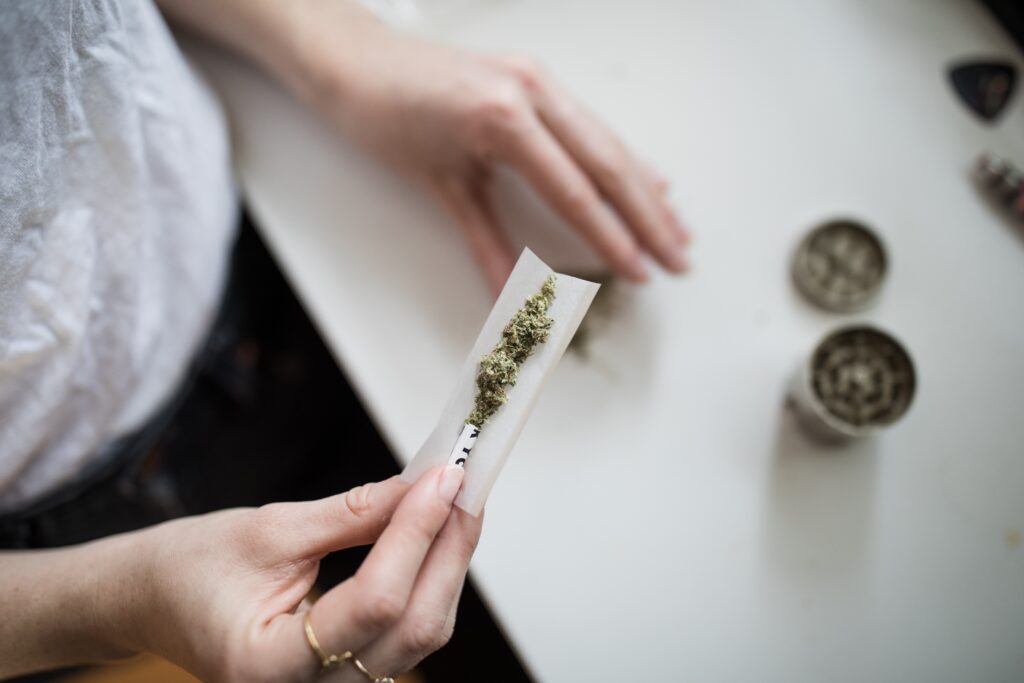
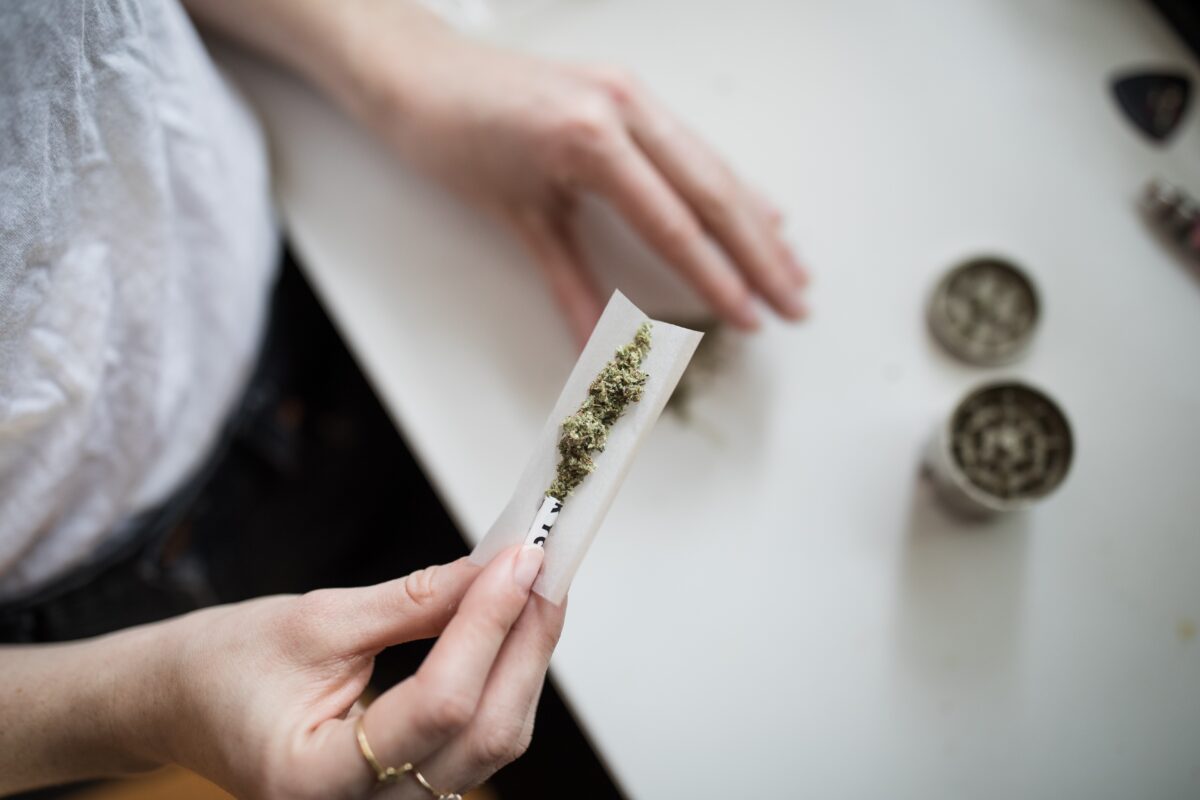
Begin by sprinkling your ground cannabis evenly along the length of the rolling paper. Aim for consistency in thickness to avoid an uneven burn.
2. Adding the Crutch:
Place the crutch at one end of the paper, ensuring it’s parallel with the cannabis. This will create a foundation for your joint.

Section 5: Rolling the Joint
1. Forming the Shape:
Using your thumbs and index fingers, roll the front side of the paper down so it can only cover the weed and tip. Position your index fingers to cover the insides of the joint with the front side of the paper and roll it up upward. You’ll want to tuck the front side of the paper between the cannabis and the back of the paper as tightly as possible. When you have the front of the paper tucked behind the cannabis as tightly as you can, release your index fingers and continue rolling your joint up to the adhesive line.
2. Sealing the Deal:
Once you’ve got your desired sturdiness, lick the adhesive edge of the rolling paper and seal it, using your fingers to ensure a tight but not overly compressed joint.
Section 6: Final Touches
1. Tamping Down:
Gently tap the ends of your joint on a flat surface to ensure an even distribution of cannabis and a consistent burn.
2. Shaping:
If necessary, shape the joint by gently pressing and rolling between your fingers.
Section 7: Light Up and Enjoy
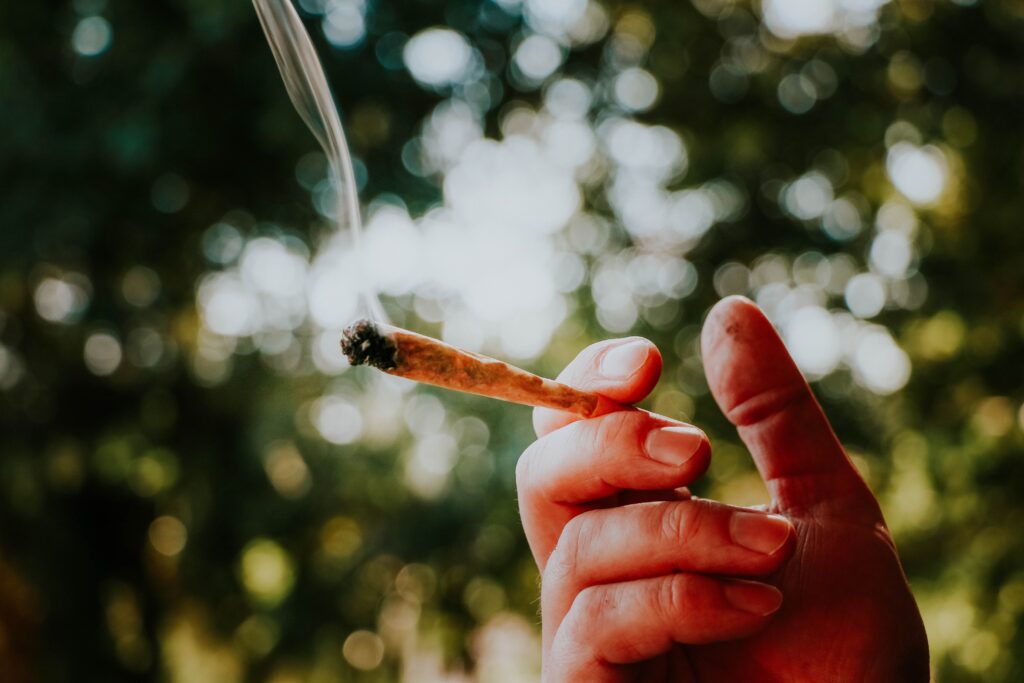
Hold your joint at a slight angle and light the tip evenly. Rotate the joint while lighting to create an even burn across the entire circumference.
1. Inhale Slowly:
Take slow, deliberate drags to savor the flavor and prevent the joint from burning too quickly.
2. Exhale Smoothly:
Release the smoke slowly to avoid harsh hits and enjoy a smoother overall experience.
Section 8: Troubleshooting Tips
Uneven Burn:
If your joint burns unevenly, gently touch up the slower side with the lighter to encourage an even burn.
Canoeing:
Prevent canoeing (uneven burn down one side) by addressing it early. Evenly burn the edges with your lighter to correct the trajectory.
Congratulations, you’ve successfully rolled a joint! Remember, practice makes perfect, so don’t be discouraged if your first attempt isn’t flawless. Experiment with different techniques, find what works best for you, and enjoy the journey of perfecting your joint-rolling skills. Need high quality flower to practice your technique with? Stop by one of our five Missouri locations and speak with one of our knowledgeable budtenders on the best products for you. Happy smoking!

